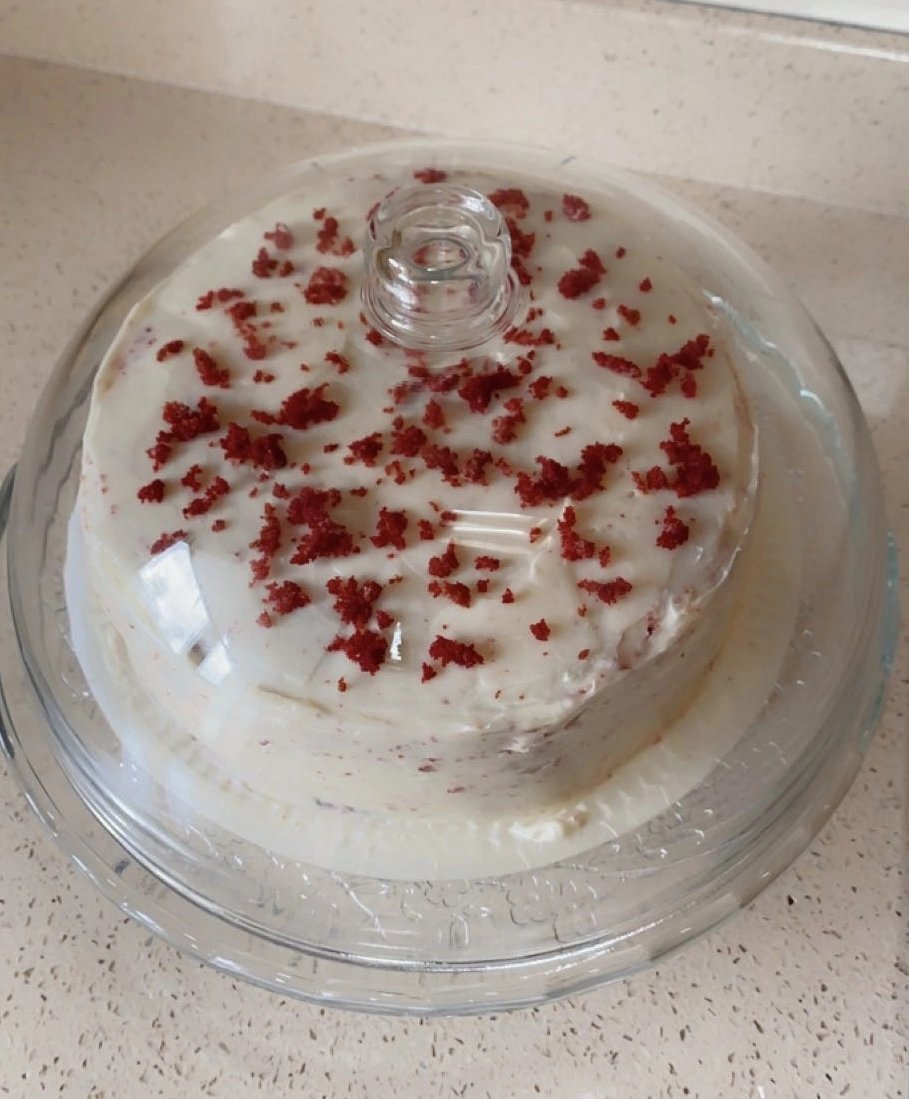
Red Velvet Cake
Home made by Tatenda
25 June 2023

What you need
For the sponges
- 500g plain flour mixed with 4 tsp baking powder and 2 tsp bicarbonate of soda
- 300ml vegetable oil, plus extra for the tins
- 560g light brown soft sugar, 2 tbsp cocoa powder and 1 tsp fine salt
- 400ml buttermilk and 4 tsp vanilla extract
For icing
- 250g slightly salted butter, at room temperature
- 750g icing sugar
- 350g tub full-fat soft cheese
- 1 tsp vanilla extract
Preparation
Step: 1
Preheat the oven to 180C/160C fan/gas 4. Grease and line two 20cm cake tins with baking parchment - if the tins are shallow, line the sides to a depth of at least 5cm.
Step:2
Combine half of the flour, cocoa powder, baking powder, bicarbonate, sugar, and salt in a bowl and mix thoroughly. Use your fingers to crush any sugar lumps.
Step:3
Combine half of the buttermilk, oil, vanilla extract, food colouring, and 100ml water in a jug. Mix in 2 eggs until smooth. Blend the wet ingredients with the dry until fully combined. The batter should be a vibrant red, darkening as it bakes. Adjust the color if needed. Divide the mixture between the two tins and bake for 25-30 mins until cooked. Cool for 10 mins before removing from the tins to cool completely.
Step:4
Follow steps 1 and 2 with the remaining ingredients to yield four sponge cakes in total. They can be prepared up to three days in advance and will remain moist when stored wrapped in cling film, or they can be wrapped securely and frozen for up to two months.
Step:5
To prepare the icing, place butter in a large bowl. Add half of the icing sugar and mix with a spatula. Use a hand mixer to blend until smooth. Incorporate soft cheese and vanilla, then add the remaining icing sugar and mix again with the hand mixer.
Step:6
To put together the cake, attach one sponge to a cake stand or board using some of the soft cheese icing. Utilize about half of the icing to pile the other cakes on top, with a generous amount between each layer. Heap the rest of the icing on top, and spread it over the edges with a palette knife, covering the whole surface of the cake. Clean the plate with kitchen paper. Keep any leftovers in the refrigerator for up to 2 days, but allow it to come to room temperature before eating.
Fruit scones
Home made by Tatenda
20 April 2023

What you need
For the sponges
- 350g self-raising flour, plus more for dusting
- 1 tsp baking powder and 1/4 tsp salt
- 85g butter, cut into cubes
- 175ml milk and 1 tsp vanilla extract
- 3 tbsp caster sugar
- 750g icing sugar
- 100g sultanas
- beaten egg to glaze
Preparation
Step:1
Preheat oven to 220C/200C fan/gas 7. Place flour, salt, and baking powder in a large bowl, mix. Mix in butter with fingers until mix resembles fine crumbs. Add sugar and stir.
Step:2
Place the milk in a pitcher and heat in the microwave for approximately 30 seconds until it is warm, but not hot. Mix in the vanilla and lemon juice, then let it sit for a moment. Place a baking sheet in the oven.
Step:3
Create a depression in the dry mixture, pour in the liquid and sultanas, then mix quickly with a knife - it may appear quite moist initially. Sprinkle flour on the countertop, transfer the dough onto it. Coat the dough and your hands with some more flour, then fold it 2-3 times until slightly smoother. Shape into a 4cm deep circle.
Step:4
Using a 5cm smooth-edged cutter dipped in flour, cut out four scones from the dough. Press any remaining dough back into a round to make more.
Step:5
Coat the tops with beaten egg before placing them onto the preheated baking tray.
Step:6
Bake for 10 minutes until the top is risen and golden. Enjoy while still warm or cold on the day of baking, with plenty of jam and clotted cream. If freezing, wait for it to cool before freezing. To defrost, reheat in a low oven (about 160C/140C fan/gas 3) for a few minutes.